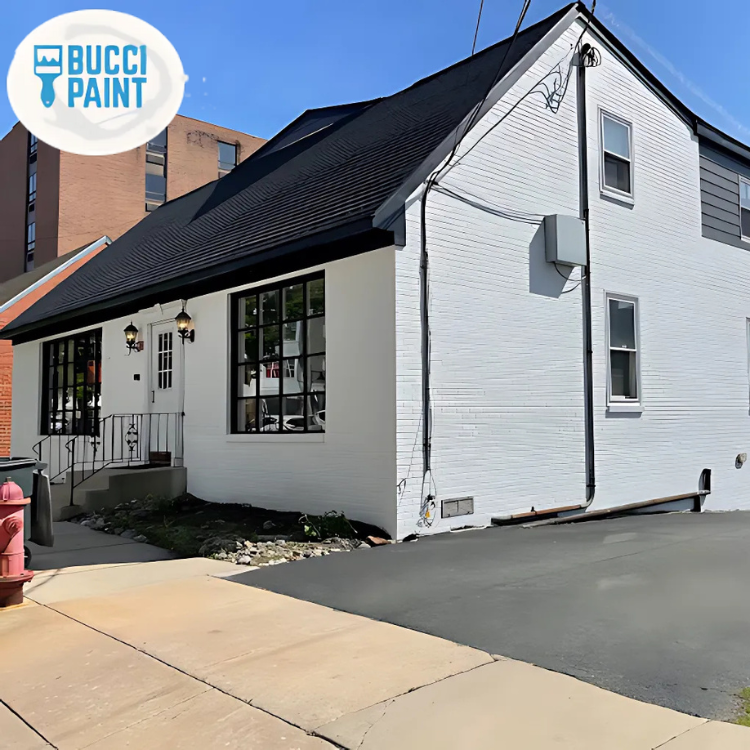
Exterior Painting Transforms Curb Appeal, Including Deck Painting
Last spring, a homeowner in our area called because their front looked “almost fine”—until you walked up the driveway. The siding had a few dull spots, some trim looked chalky, and the deck boards near the rail were noticeably darker than the rest. From the street, the house still had good bones. Up close, though, you could see where years of rain, humidity, and winter cold had started to win.
In Evesham and throughout South Jersey, exterior appearance isn’t just about color. It’s about protection—especially after freeze/thaw cycles and frequent moisture. And decks are often the first place homeowners notice wear because they take direct sun, rain, and foot traffic in the same season.
When we handle exterior painting and deck painting together, the results usually make the biggest difference: cleaner lines, more consistent sheen, and a deck finish that doesn’t break down early.
Quick Answer
A long-lasting exterior paint job starts with surface prep (cleaning, scraping, repairs, and moisture control), not just choosing a color. For decks, deck painting can work beautifully when the wood is properly prepped and the right coating system is used—especially in humid New Jersey weather. If you see peeling paint, flaking stain, mildew, or boards that feel rough and dry, it’s usually time to repaint or refinish rather than “touch up” and hope.
Why Exterior Painting + Deck Painting Changes the Whole Look
Homeowners often focus on the siding first, but the deck is what frames the entry and pulls your eye in. When deck boards look uneven—one area absorbing moisture faster or holding onto grime—you get a noticeable contrast against freshly painted trim or siding.
On the jobs we see, the deck finish also affects how the rest of the exterior “reads” visually:
- Fresh exterior paint gives crisp contrast to trim and window openings.
- A properly refinished deck makes that contrast look intentional, not accidental.
- Consistent finish sheen across railings, posts, and nearby trim keeps everything cohesive.
A common contractor observation: many decks are refinished (or “recoated”) without fully addressing what’s happening in the wood. If moisture is still trapped under old finishes or if the surface wasn’t cleaned enough for new coating to bond, the new layer can fail sooner than expected—even if it looks great for a few months.
What Homeowners Often Overlook
1) Surface prep is the real “coating”
Paint and stains don’t last because they’re expensive. They last because they’re bonded correctly. That means:
- removing peeling or loose material
- cleaning off mildew, dirt, and oxidation
- sanding or profiling rough wood
- repairing caulk joints and damaged trim edges
2) Deck railings and edges get neglected
Decks don’t only wear on the boards. Rail tops, stair stringers, and face grain areas often take the brunt of water exposure. If those edges aren’t sealed properly, you’ll see uneven fading and early failure.
3) Timing matters in New Jersey
Humidity and temperature swings affect drying times and film formation. Even a good coating can underperform if it’s applied when conditions don’t support proper cure.
Signs It’s Time to Repaint (or Refinish the Deck)
Here are the cues we use on walkthroughs:
Exterior siding and trim
- Paint is peeling, bubbling, or flaking in patches
- Caulking lines look cracked or have gaps
- You see chalky residue on your hand after wiping the surface
- Wood trim has dark streaks that look like moisture movement
Decks
- Stain or paint is wearing thin on high-contact areas (stairs/rail tops)
- You notice roughness or splintering where the finish has broken down
- Water no longer beads evenly; it soaks in quickly
- Old coating looks “muddy” or uneven rather than uniform
Common Mistakes Homeowners Make
“We’ll just scrape and touch up.”
Touch-ups rarely address the real problem: adhesion and moisture dynamics. If a section of siding or trim is already failing, it’s often because moisture found a path—through damaged caulk, compromised wood, or insufficient cleaning before the last coat.
Painting over mildew and dirt
Mildew may look like a surface issue, but it can reduce bonding and create a visible comeback. On decks, mold and mildew also change how stains “wet” the wood, leading to blotchiness.
Skipping repairs to caulk joints and trim edges
Even the best paint system won’t hold up if water can get behind it. We commonly see premature wear at:
- corner boards
- around window trim
- along fascia edges
- base trim areas where splashback occurs
Choosing deck coating based on color alone
Decks are exposed to a different set of stresses than siding. A finish that looks great on a sample board may not be the best choice for direct sun, heavy foot traffic, or areas that stay damp.
What Actually Impacts Long-Term Results
From our side of the ladder, these are the factors that consistently drive performance:
- Moisture management: Fixing damaged caulk, addressing water pathways, and ensuring surfaces are dry enough for coating to bond.
- Surface profile: Siding needs the right cleaning and scrape profile; decks need proper prep so the new coating can grip.
- Coating system match: Using compatible products (primer + topcoat) rather than mixing random layers.
- Application quality: Even coverage, correct thickness, and proper brushing/rolling for the substrate.
- Cure time: Humidity can slow cure. Finishes may feel dry while they’re still vulnerable.
Our Experience With Residential Painting Projects
One anonymized example we see frequently: a homeowner wants “mostly exterior paint” but initially plans to focus only on visible siding sections. During prep, we find small areas of failing paint around trim joints and a deck where previous coating didn’t adhere evenly.
What changes the outcome is how the job is sequenced:
1. Clean and remove loose material on siding and trim
2. Prime repaired spots so they match the rest of the system
3. Re-caulk and seal where water is likely to enter
4. Prep the deck thoroughly (including addressing old finish issues)
5. Apply a deck coating system designed for deck exposure
The homeowner’s biggest surprise is usually the deck. Once the surface is properly prepped and the coating is applied as a system, it stops looking patchy and starts looking uniform—especially on rail tops and stair areas.
Material Recommendation: Deck Painting vs. Deck Staining (and what to choose)
Many people ask whether deck staining is better than deck painting. Both can work, but here’s a practical way to decide:
If you want the most uniform look and color control
Deck painting can be the better choice—especially when the deck is already painted in the past or when you want a consistent finish across boards and railings.
If the goal is a more natural wood look
Deck staining is often preferred, but it requires the right prep and maintenance schedule. Stains can fade unevenly in high-sun areas if the deck isn’t maintained.
Practical finish tip we recommend often
For many NJ homeowners, a quality deck coating system with the right primer makes a bigger difference than switching between brand names. The “primer decision” is where we see failures prevented—particularly on decks with old finish residue or uneven absorption.
If you’d like to compare approaches, you can also explore our broader exterior scope at Exterior painting services in New Jersey.
Preparation Checklist (What Your Project Should Include)
Use this as a homeowner checklist before work begins:
Exterior painting prep
- Confirm loose paint is scraped back and edges are feathered smooth
- Verify caulking is inspected and replaced where gaps/cracks exist
- Ensure siding/trim is cleaned to remove mildew, dirt, and oxidation
- Confirm primer is used on repaired and bare areas
- Protect landscaping, windows, and nearby surfaces
Deck painting prep
- Remove failing or loose coating (don’t paint “on top” of flaking)
- Clean thoroughly and allow proper drying before coating
- Sand/profile as needed for adhesion
- Prime bare or repaired wood areas
- Apply deck topcoats evenly, respecting cure time and humidity conditions
Paint vs. Stain Comparison (Quick Practical Guide)
| Topic | Deck Painting | Deck Staining |
|---|---|---|
| Appearance | More uniform color and coverage | More natural wood grain visibility |
| Maintenance | Can last longer when applied as a system | Can fade or wear unevenly in high-sun spots |
| Best for | Owners wanting consistent look | Owners comfortable with periodic maintenance |
| Common failure | Coating applied over failing/dirty surface | Uneven penetration/fade from incomplete prep |
What We Commonly See in New Jersey Homes
In our experience across South Jersey neighborhoods, a few patterns show up again and again:
- Freeze/thaw accelerates edge failure. Small gaps in caulk and trim joints expand and contract, letting moisture work its way in.
- Humidity affects drying and cure. A deck in shade or a siding section facing prevailing moisture can stay damp longer than expected.
- Older homes need more detail work. We frequently see trim details that require careful repair and re-sealing before paint goes on.
- Curb appeal expectations are high. Many homeowners in the area want their exteriors to look updated without losing the character of the home.
If you’re also thinking about indoor updates that match the exterior refresh, you can compare services through interior painting in New Jersey.
References and Industry Context (Why Prep and Coatings Matter)
A few widely accepted industry points explain what we see in the field:
- The U.S. Environmental Protection Agency notes that proper surface preparation and coating selection are key to paint performance and longevity, including addressing contaminants before application.
- The American Coatings Association emphasizes that correct preparation and application are major factors in achieving durable finishes.
- ASTM standards and coating-industry best practices consistently stress adhesion, film formation, and substrate cleanliness as prerequisites for long-term results.
(These points align with the way professional painters approach scraping, cleaning, priming, and system-based coating.)
Ready to Refresh or Protect Your Home?
If your exterior is showing early signs—peeling trim, chalky siding, or deck coating wear—don’t wait until the damage spreads. The earlier you address prep and moisture pathways, the longer your finish holds up and the cleaner your curb appeal looks.
When you’re ready, we can walk your property, identify the real cause of failure (not just the visible symptoms), and recommend the right exterior painting and deck painting plan—done with careful prep and craftsmanship you can see in the details.
About Bucci Paint
Bucci Paint provides residential and commercial painting, remodeling, drywall, and finish carpentry services throughout Evesham, NJ and surrounding communities. We focus on quality craftsmanship, long-lasting finishes, proper preparation, and helping homeowners improve and protect their properties with detailed, practical workmanship—inside and out.
If you’d like to coordinate exterior work with repairs first, you may also find our related services helpful: drywall repair support, trim and door installation, and exterior protection upgrades.